

티스토리 뷰
유니티의 ScreenCapture는 세가지의 메소드를 제공합니다.
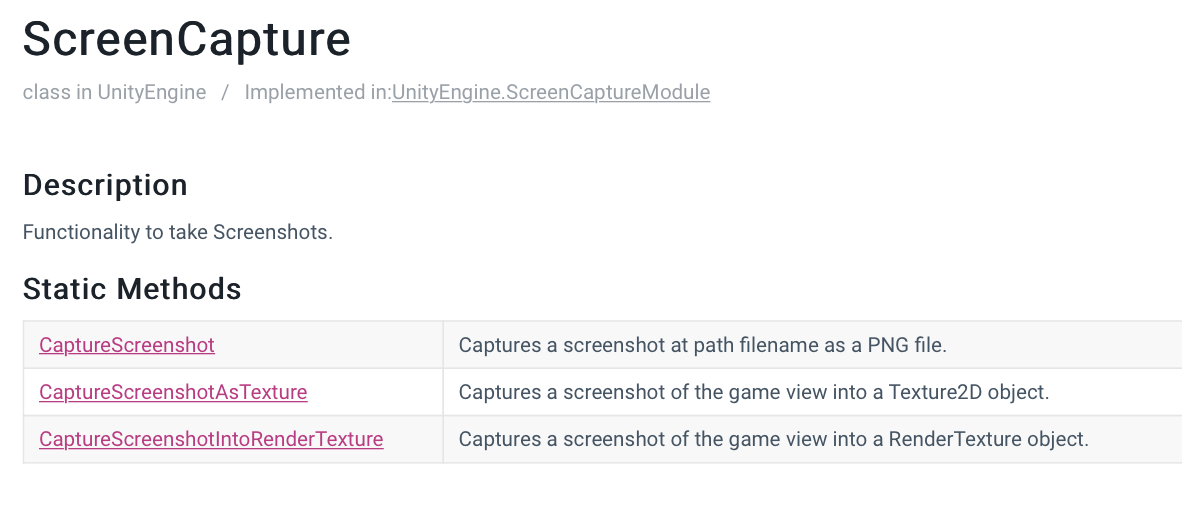
이 중, 저는 png 파일이 필요해서 CaptureScreenshot 을 써보겠습니다.
문서에는 이렇게 파일명만 나와있지만

파일명과 함께 확장자도 적어줘야지 png 파일로 저장이 됩니다!
ScreenCapture.CaptureScreenshot("SomeLevel.PNG");ScreenCapture.CaptureScreenshot("SomeLevel.png");
[1] 경로를 안지정했을 때
위의 예제처럼 경로 없이 파일명 + 확장자만 적어주면
# PC
유니티 프로젝트 폴더 안에 png 파일이 저장됨
# iOS
문서에 보면 모바일 플랫폼인 경우, Application.persistentDataPath + 파일명으로 저장된다고 하네요
근데 저 Path가 사용자가 사진을 확인할 수 없는 Path 입니다.
(사진앨범이나 파일 앱에 저장되는 게 아니라서,, 참고)
# 안드로이드
확인 안했으나 iOS와 동일한 상황일 것 같네요
[2] 플랫폼 분기 & PC - 경로 지정하기
PC인 경우, 다운로드 폴더에 사진을 저장하고
모바일인 경우, 사진 앨범에 저장하도록 해보겠습니다.
우선 플랫폼 의존 컴파일 을 이용해서 플랫폼 분기를 해줍니다.
그리고 PC의 경우 간단하니까 구현을 해줬습니다.
    public void CaptureScreen()
    {
        string timestamp = System.DateTime.Now.ToString("yyyy-MM-dd-HH-mm-ss");
        string fileName = "BRUNCH-SCREENSHOT-" + timestamp + ".png";

        #if UNITY_IPHONE || UNITY_ANDROID
        CaptureScreenForMobile(fileName);
        #else
        CaptureScreenForPC(fileName);
        #endif
    }

    private void CaptureScreenForPC(string fileName)
    {
        ScreenCapture.CaptureScreenshot("~/Downloads/" + fileName);
    }

    private void CaptureScreenForMobile(string fileName)
    {

    }
PC 버전 돌려보면 다운로드 폴더에 잘 저장됩니다.

[3] 모바일 - 앨범에 저장하기 (iOS, 안드 공통)
Native Gallery for Android & iOS 플러그인을 사용해줍니다.
여기는 png를 넘겨줄 수 있는 인터페이스가 없어서
CaptureScreenshotAsTexture 로 Texture2D를 구하여 넘겨줍니다.

CaptureScreenshotAsTexture 에서 신뢰할 수 있는 결과를 얻으려면
프레임 렌더링이 종료된 후에 이 메소드가 호출되어야한다고 합니다. 렌더링 프로세스 중에 호출되면 정확한 결과를 못얻기 때문입니다. 그래서 WaitForEndOfFrame 을 이용하라고 문서에서 권장하고 있어요!
근데 저는 일단 간단히 해볼게요!
(저의 경우, 사용자가 카메라 버튼을 클릭하여 캡쳐를 하는 것이고 타이핑 애니메이션 중에는 카메라 버튼을 감추기 때문에
문서에서 말하는 것을 고려안해도 될 것 같긴 합니다. 카메라 버튼 자체가 화면 렌더링 다 끝나고 나오는 거 아닌가여..?)
private void CaptureScreenForMobile(string fileName)
{
Texture2D texture = ScreenCapture.CaptureScreenshotAsTexture();
// do something with texture
string albumName = "BRUNCH";
NativeGallery.SaveImageToGallery(texture, albumName, fileName, (success, path) =>
{
Debug.Log(success);
Debug.Log(path);
});
// cleanup
Object.Destroy(texture);
}
NativeGallery 플러그인을 쓸 때 아래를 고려해줘야합니다.
1️⃣
앨범네임을 지정해줘도 iOS 14 이상에서는 해당 파라미터가 무시되고 default 포토 앨범에 저장 됩니다.
On iOS 14+, the image/video will be saved to the default Photos album (i.e. album parameter will be ignored).
On earlier iOS versions, the image/video will be saved to the target album. Make sure that the filename
parameter includes the file's extension, as well.
2️⃣
MediaSaveCallback에서 iOS의 경우 path는 null 입니다.
MediaSaveCallback takes bool success and string path parameters. If the image/video is saved successfully,
success becomes true. On Android, path stores where the image/video was saved to (is null on iOS).
3️⃣
SaveToGallery의 구현은 이렇게 되어있는데요
Exception이 일어나는 케이스를 유의해주세요!
private static Permission SaveToGallery( byte[] mediaBytes, string album, string filename, MediaType mediaType, MediaSaveCallback callback )
{
    Permission result = RequestPermission( PermissionType.Write );
    if( result == Permission.Granted )
    {
        if( mediaBytes == null || mediaBytes.Length == 0 )
            throw new ArgumentException( "Parameter 'mediaBytes' is null or empty!" );

        if( album == null || album.Length == 0 )
            throw new ArgumentException( "Parameter 'album' is null or empty!" );

        if( filename == null || filename.Length == 0 )
            throw new ArgumentException( "Parameter 'filename' is null or empty!" );

        if( string.IsNullOrEmpty( Path.GetExtension( filename ) ) )
            Debug.LogWarning( "'filename' doesn't have an extension, this might result in unexpected behaviour!" );

        string path = GetTemporarySavePath( filename );
#if UNITY_EDITOR
        Debug.Log( "SaveToGallery called successfully in the Editor" );
#else
        File.WriteAllBytes( path, mediaBytes );
#endif

        SaveToGalleryInternal( path, album, mediaType, callback );
    }

    return result;
}
참고로 저 플러그인은 SaveImageToGallery 뿐만 아니라 SaveVideoToGallery, SaveAudioToGallery 메소드도 있답니다 👍
[4] 모바일 - iOS
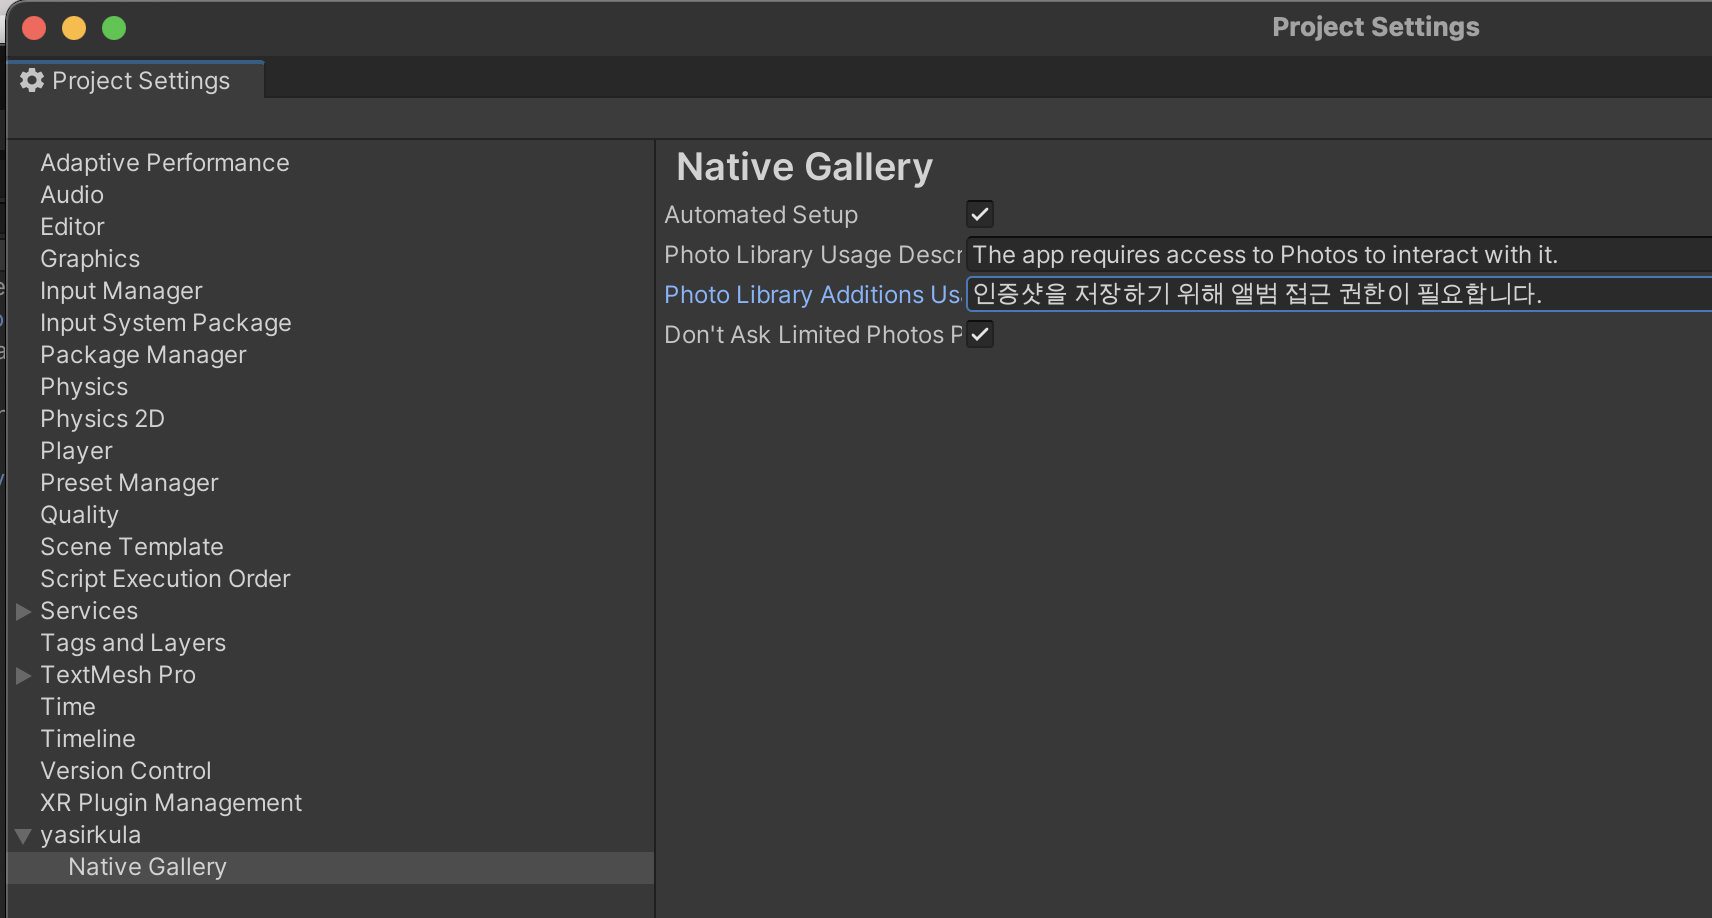
iOS의 경우, 앨범 접근 설명이 디폴트로 나오게 하기 싫으면
Untiy > Edit > Project Settings > yasirkula > Native Gallery 에 들어가서
해당 필드를 바꿔주면 됩니다. (참고: 문서)
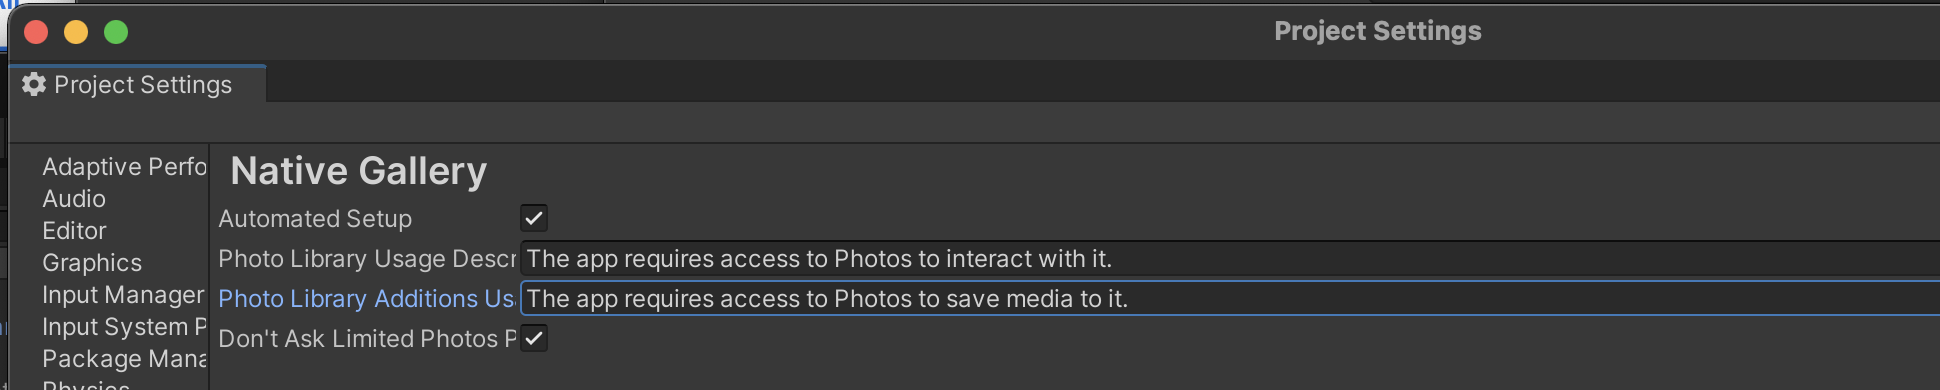
저는 아래와 같이 바꿔줬습니다.
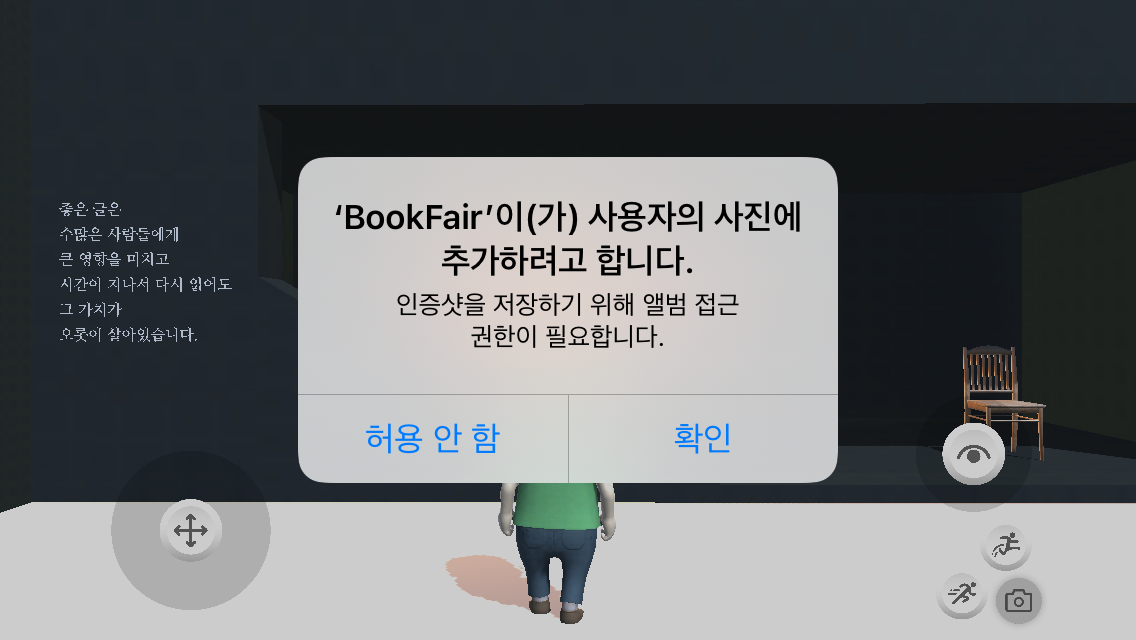
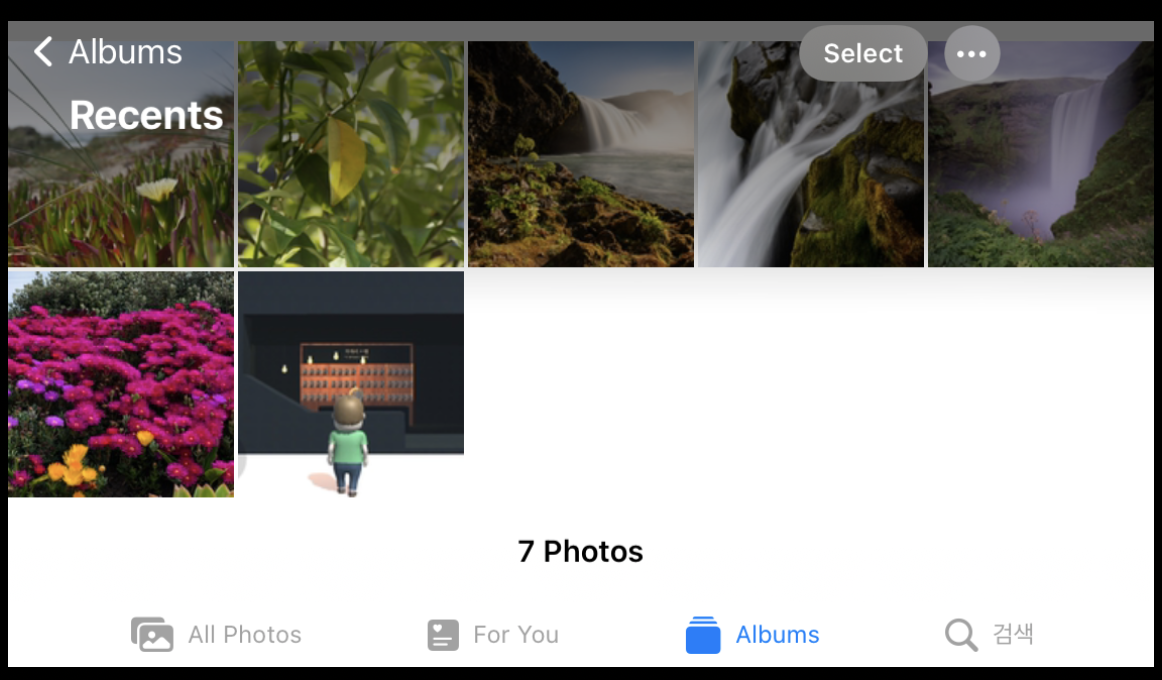
확인을 누르면 앨범에 잘 저장됩니다.
하지만 허용안함을 누르면 다시 팝업이 안뜨기 때문에.. 저렇게만 둘 수 없습니다.
접근권한을 체크해서 설정으로 랜딩하는 코드도 추가해줍니다.
    private void CaptureScreenForMobile(string fileName)
    {
        Texture2D texture = ScreenCapture.CaptureScreenshotAsTexture();

        // do something with texture
        NativeGallery.Permission permission = NativeGallery.CheckPermission(NativeGallery.PermissionType.Write);
        if (permission == NativeGallery.Permission.Denied)
        {
            if (NativeGallery.CanOpenSettings())
            {
                NativeGallery.OpenSettings();
            }
        }

        string albumName = "BRUNCH";
        NativeGallery.SaveImageToGallery(texture, albumName, fileName, (success, path) =>
        {
            Debug.Log(success);
            Debug.Log(path);
        });

        // cleanup
        Object.Destroy(texture);
    }
+ 설정에서 접근권한 끄고 카메라 버튼 눌렀을 때도 설정으로 잘 랜딩되는 것 확인!
[5] 모바일 - Android
안드로이드는 이 세팅을 해줘야한다고 합니다

안드로이드 스튜디오, Xcode, Unity Editor 를 동시에 띄우면 컴퓨터가 많이 힘들어해서,,
안드는 테스트 안하고 있음,,,, (안드 개발자님이 해주실 것!)
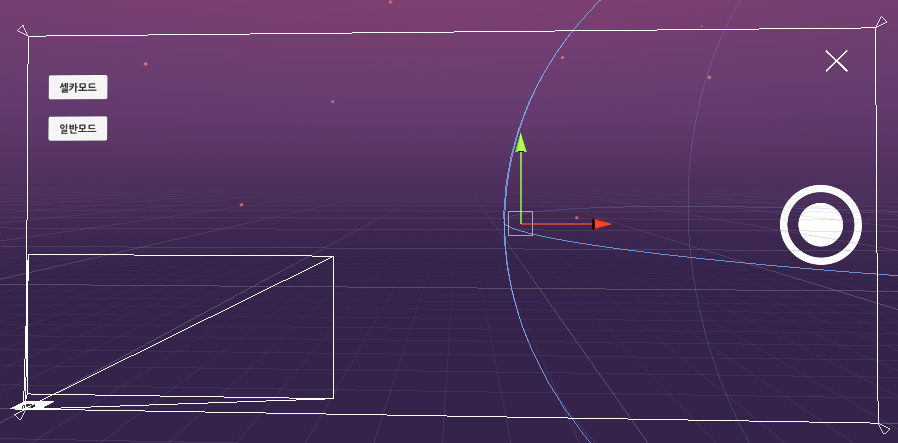
[ 추가 ]
나중에 이 CamaraCanvas가 안나오게 캡쳐하고 싶어서
결국 WaitForEndOfFrame 썼네요!
    private IEnumerator MakeScreenShot()
    {
        audioSoure.Play();
        cameraCanvas.enabled = false;

        yield return new WaitForEndOfFrame();
        CaptureScreen();
        cameraCanvas.enabled = true;
    }
'🎨 > Unity' 카테고리의 다른 글
| [Unity] Texture2D 를 Image로 보여주기 (Sprite.create) (0) | 2022.03.17 |
|---|---|
| [Unity] 효과음 (카메라 셔터음) 넣기 (0) | 2022.03.11 |
| [Unity] Mesh Collider / CharacterController (0) | 2022.03.03 |
| [Unity] StarterAsset에 커스텀 애니메이션 추가하기 (0) | 2022.03.03 |
| [Unity] Animation Clip, Animator, Animator Controller, Avatar (0) | 2022.03.02 |
- Total
- Today
- Yesterday
- ribs
- SerializerMethodField
- cocoapod
- flutter dynamic link
- drf custom error
- Django Heroku Scheduler
- flutter build mode
- Flutter Spacer
- 구글 Geocoding API
- Flutter Text Gradient
- flutter deep link
- Flutter 로딩
- METAL
- 장고 Custom Management Command
- 장고 URL querystring
- Flutter getter setter
- Flutter Clipboard
- Watch App for iOS App vs Watch App
- flutter 앱 출시
- 플러터 얼럿
- Django Firebase Cloud Messaging
- Django FCM
- 플러터 싱글톤
- PencilKit
- Sketch 누끼
- Dart Factory
- Python Type Hint
- github actions
- ipad multitasking
- DRF APIException
| 일 | 월 | 화 | 수 | 목 | 금 | 토 |
|---|---|---|---|---|---|---|
| 1 | 2 | 3 | 4 | 5 | 6 | |
| 7 | 8 | 9 | 10 | 11 | 12 | 13 |
| 14 | 15 | 16 | 17 | 18 | 19 | 20 |
| 21 | 22 | 23 | 24 | 25 | 26 | 27 |
| 28 | 29 | 30 |