
티스토리 뷰
https://api.github.com/users/사용자이름 으로 요청하면 아래 같이 Github user 정보가 들어있는 JSON을 줍니다.

localhost:8000/rest-api-test/user?username="사용자이름" 으로 접속하면
저 api를 호출해서 JSON을 넘겨주도록 만들어보겠습니다 :-)
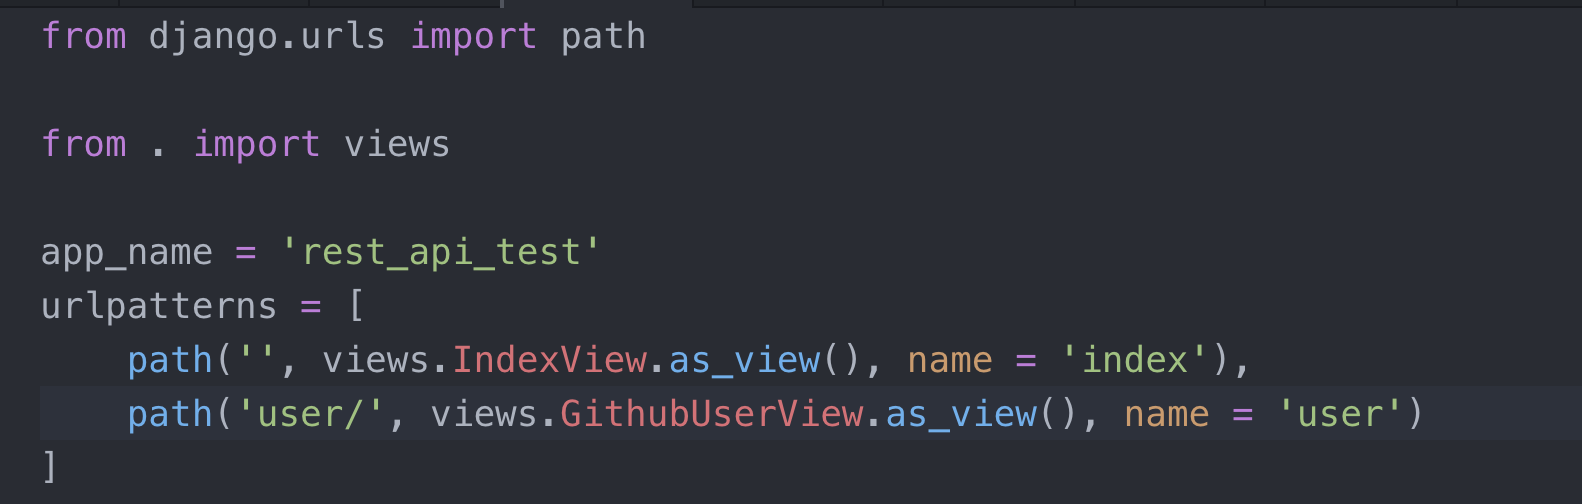
우선 rest_api_test > urls.py의 urlpatterns에 다음과 같은 path를 추가해주세요
rest_api_test/user/ 로 들어오면 GithubUserView를 호출하겠다! 하는 코드 입니다.
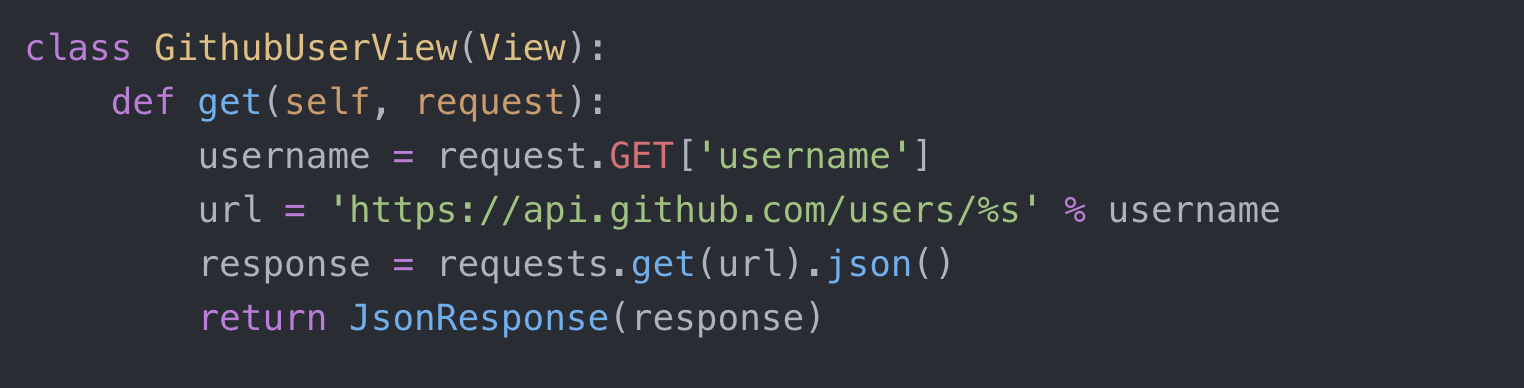
rest_api_test > views.py 에 가서
GithubUserView를 만들어주세요
그리고 테스트해보면 JSON을 잘 넘겨주는 것을 볼 수 있습니다.

한 단계 더 나아가서 여기서 몇가지 필드들을 가지고 템플릿을 보여주는 것을 해볼게요!+!
rest_api_test 앱 하위 폴더로 template > rest_api_test 에 index.html을 만들어주세요

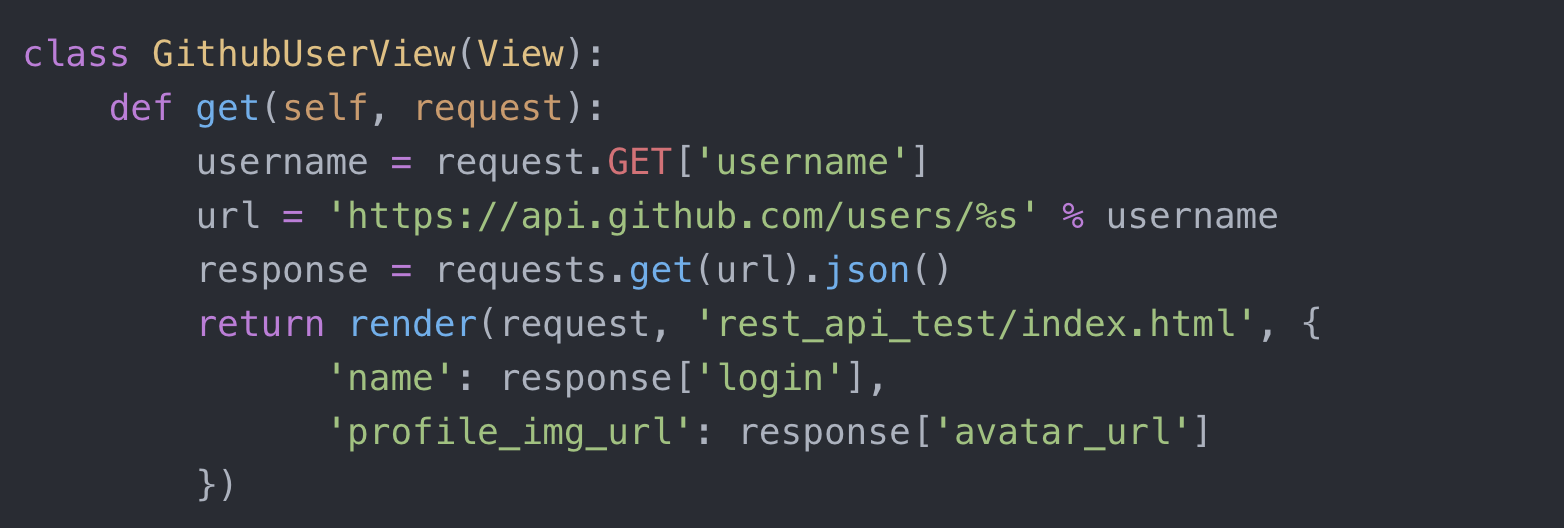
그리고 views.py에 가서 GithubUserView의 코드를 바꿔주세요
index.html 템플릿을 보여주고 템플릿에 context로는 name과 profile_img_url를 넘겨주겠다! 하는 코드입니다.
index.html에도 이제 코드를 구현해주세요 두줄이 끝입니다~+~

아니면 이렇게 html 기본태그 다 적어도 됩니다.
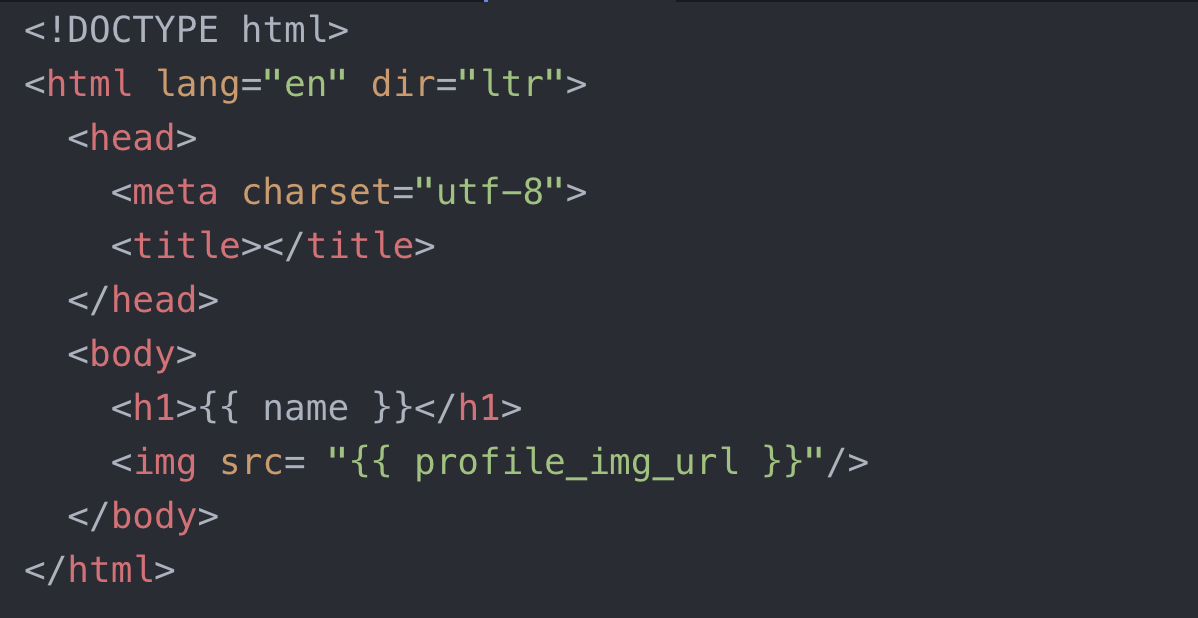
저는 튜토리얼에서는 html 기본 태그 다 해줬는데
이번에는 두 줄로만 가려구요!
테스트를 해봅시다
잘 나옵니다...!!
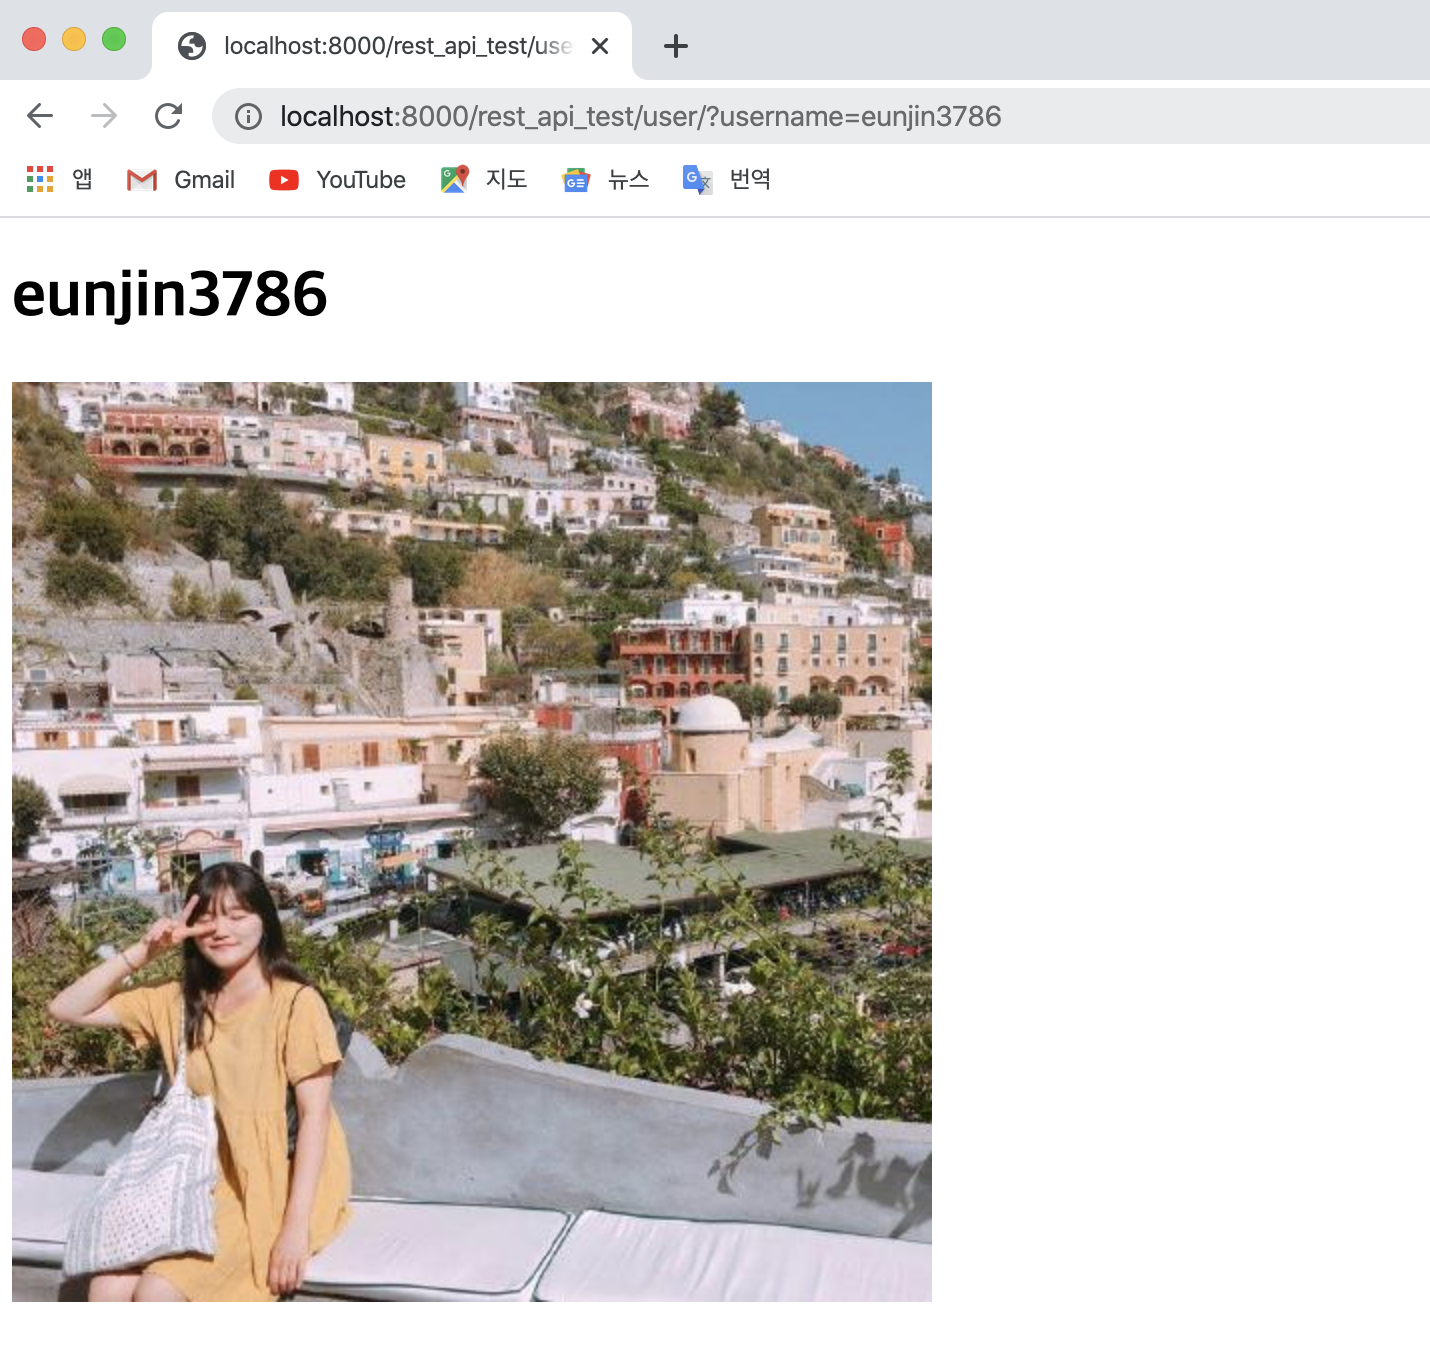
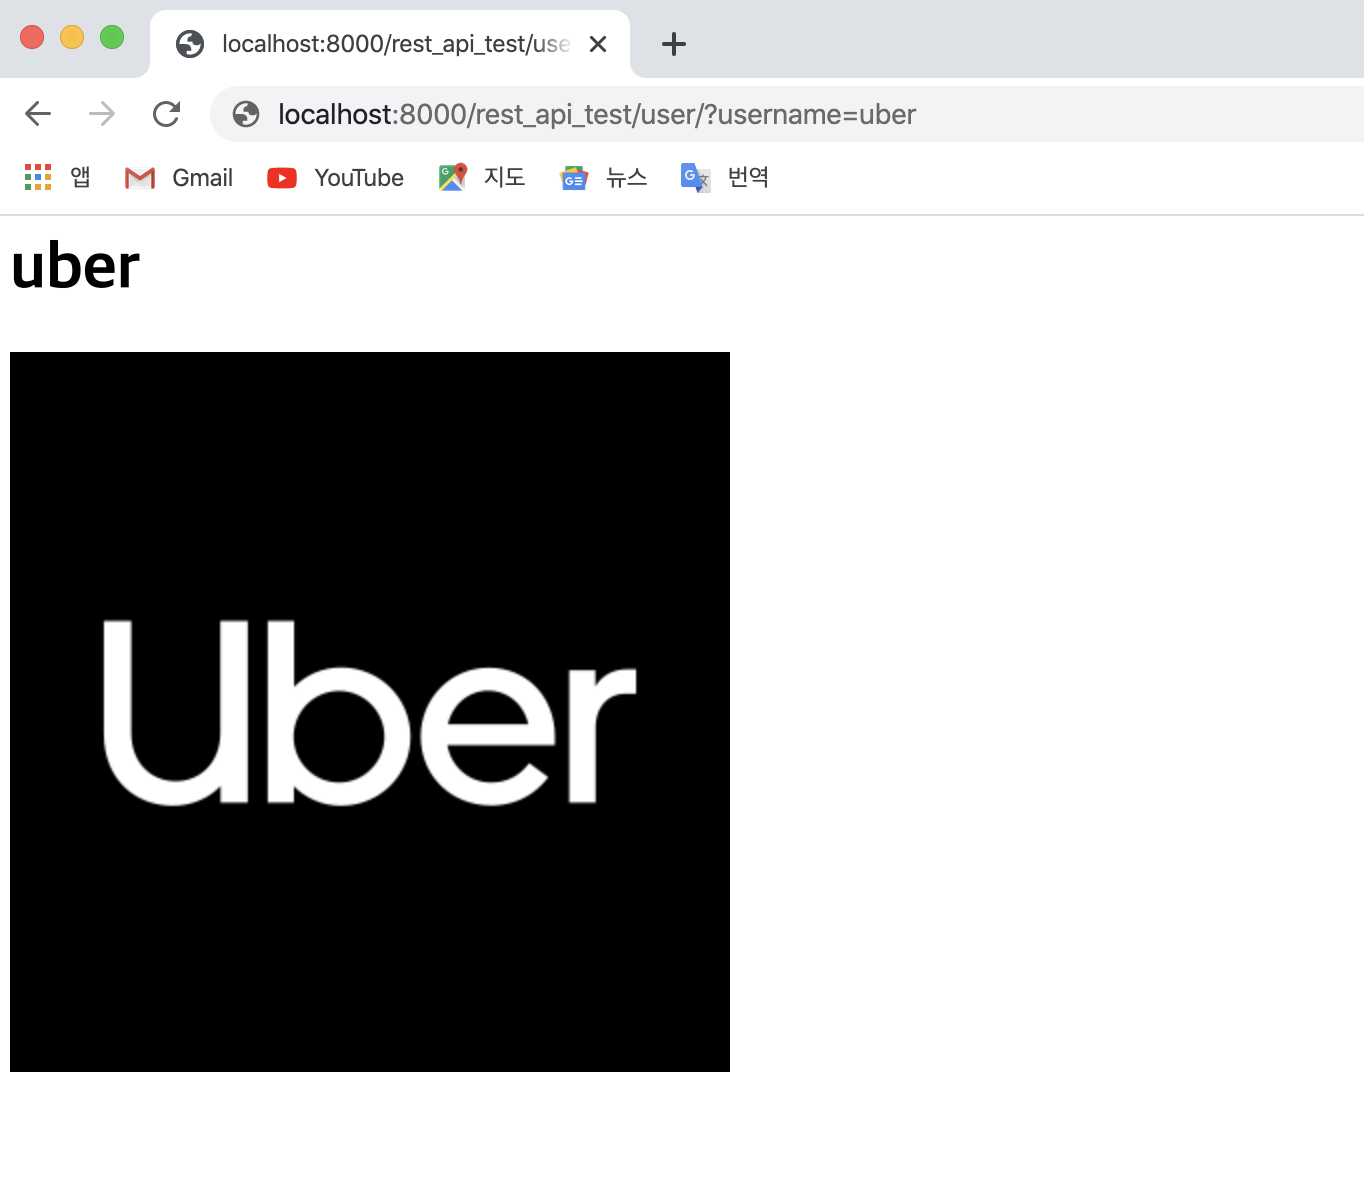
슈퍼 천재 우버도 잘 나옵니다...!!
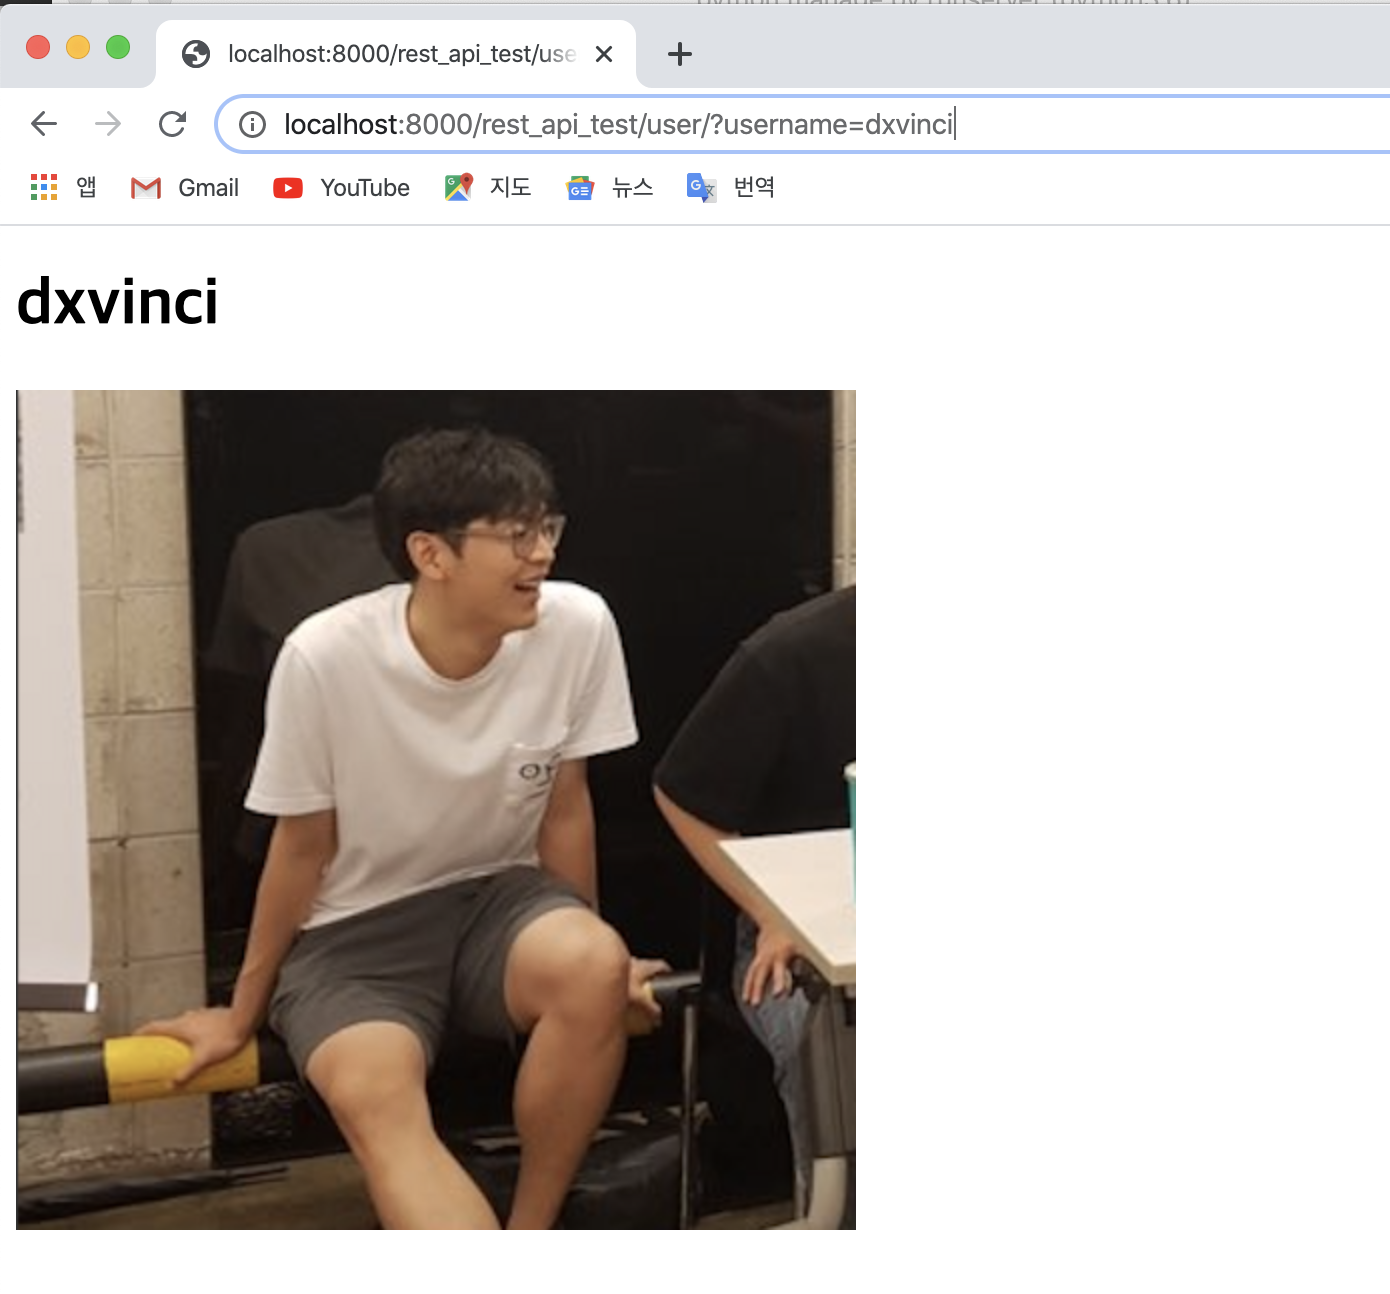
팔로워중에 친구것도 슬쩍.... 😉
잔디밭이 촘촘하구나~~
'🐍 > Django' 카테고리의 다른 글
| [Django] 튜토리얼 part 5 (2) - 뷰 테스트 작성하기 (0) | 2020.02.22 |
|---|---|
| [Django] 튜토리얼 part 5 (1) - 테스트 작성하기 (0) | 2020.02.20 |
| [Django] HTTP Request를 받아서 응답해주기 (GET, POST, PUT, DELETE) (1) | 2020.02.16 |
| [Django] 튜토리얼 part 4 (2) - Generic view 사용하기 (0) | 2020.02.15 |
| [Django] 튜토리얼 part 4 (1) - QueryDict (0) | 2020.02.15 |
- Total
- Today
- Yesterday
- DRF APIException
- drf custom error
- ipad multitasking
- flutter dynamic link
- Watch App for iOS App vs Watch App
- 플러터 싱글톤
- cocoapod
- flutter build mode
- Flutter Text Gradient
- Django FCM
- Django Heroku Scheduler
- Flutter Clipboard
- ribs
- Sketch 누끼
- Dart Factory
- github actions
- 장고 Custom Management Command
- Django Firebase Cloud Messaging
- PencilKit
- Python Type Hint
- Flutter 로딩
- SerializerMethodField
- 구글 Geocoding API
- 플러터 얼럿
- flutter deep link
- Flutter Spacer
- 장고 URL querystring
- METAL
- flutter 앱 출시
- Flutter getter setter
| 일 | 월 | 화 | 수 | 목 | 금 | 토 |
|---|---|---|---|---|---|---|
| 1 | 2 | 3 | 4 | 5 | ||
| 6 | 7 | 8 | 9 | 10 | 11 | 12 |
| 13 | 14 | 15 | 16 | 17 | 18 | 19 |
| 20 | 21 | 22 | 23 | 24 | 25 | 26 |
| 27 | 28 | 29 | 30 |